Tuesday 30 July 2013

Jesus calms the storm story bag

We are gradually resourcing the stories that we use with our 3-5s over the course of the year and here is one of our latest story bags: Jesus calms the storm!

The contents help to either tell the story or emphasise a point that we are trying to teach.

Contents:


  • Blue and white fabric (to use as waves)
  • plastic boats
  • plastic container (fill with water and float the boats!)
  • Fish bubble gun
  • Instruments (to make storm noises)
  • rubber ring (to emphasise the idea that Jesus will keep us safe)
  • Calming the storm fuzzy felt
  • Face stick puppets

The fuzzy felt is kept inside a plastic takeaway box, with the backing felt glued to the lid

There are pieces for stormy weather and Jesus sleeping...
...and Jesus calming the storm
The faces (except for the 'Jesus' figure) are double sided.

Fear on one side...
...happiness and relief on the other side.

Monday 29 July 2013

Joseph's coat stick puppet craft

In the summer, things tend to quieten down a bit for our children's work and we need to find something that will work with a group of children aged 3-11.  This isn't always easy so we try to be as practical and visual as possible!

This summer, we are looking at the story of Joseph from Genesis.  Our first session told the part of the story where Joseph's brothers become jealous of him and sell him to some slave traders from Egypt.  We wanted a craft that would emphasise the change in Joseph's status so that we could talk about God being with us in the bad times as well as the good times.  KylĂ© came up with something great!

Here are instructions for our Joseph's coat craft...

Print off the template sheet (click here) and copy it onto card.


Cut out the Joseph shape 


Cut out the coat shape.  We used sticky back plastic (contact paper) but card would work just as well.
 Fold Joseph over so that the two halves fit on top of each other. Tape a lolly stick to the inside of the Joseph shape and then glue the two halves together.
 Decorate one half of the coat shape with lots of colours and make the other side brown.  Fold the coat over at the top and slip Joseph's head through the neck hole.  Tape the sides of the coat together so it won't come off the figure.
 Give the figure a smiley face (coloured coat side)
 and a sad face (brown coat side).
Use the puppet to talk about this section of the story and about how God is with us when we are sad and lonely as well as when we are happy.

Saturday 27 July 2013

Good Samaritan Story Bag

Here is the bag I've put together to help tell and play the story of the Good Samaritan.  Again, it's all easy to get hold of and quite cheap!


Contents:
  • Story book
  • old map (to help children relate to the idea of going on a journey)
  • flip flops (again, putting on shoes to go on a journey)
  • toy doctor's kit and bandages (pound shop purchases!)
  • little bag containing card coins (The Samaritan paying for the injured man's care)
  • 5 faces-one friendly (Samaritan), 3 cross/ unfriendly looking (people who walk on the other side), 1 doublesided face with a sad, injured face on one side and a happy, healed face on the other side.


Thursday 25 July 2013

David and Goliath Story Bag

I'm getting into a story bag frenzy at the moment, sorting out a few more bags before I leave...

Here's the bag for the the David and Goliath story we tell our 3-5s in the autumn term:

  • Foil tray shield
  • foam sword
  • giant feet (made from thick cardboard and string ties)
  • sheep (David was a shepherd)
  • toy catapult (bargain from the pound shop!!)
  • pom poms to fire from the catapult (parents would not thank me for including stones as in the original story!)
  • wooden 'giant' and 'David' figures
  • bubble sword (see prayer activity to use this with at the bottom of this link)
Have fun!


Tuesday 23 July 2013

Nothing is impossible to God paper cutting illustration

Here's a clever way to help children to think about nothing being impossible to God.  It's quite a good illustration for an assembly and, if you practise, you will be able to cut while talking!  It's especially good for times of transition when children are worried about going into a new situation.

Ask some children to come out to the front give each of them a sheet of A5 sized paper and some scissors.

Ask them to cut a hole in the paper that they will be able to fit their whole body through.

Some of the children will immediately decide that this is not possible, while some may have an attempt!

Sometimes we are faced with problems that really worry us and that we don't know how to solve!

Now take a piece of the A5 paper and follow these instructions...

1. Fold the paper in half lengthways
2 Cut alternating 'up' and 'down' slits in the paper as shown
3.Cut through the fold of the paper, leaving the fold of the end slit pieces in tact
4. Open the paper out into a big circle that you can pass your whole body through!

You may need to try this a few times before you actually do it for real so that you know roughly how many slits you need to make for your body to get through.

Talk about the fact that sometimes we are faced with problems that we don't know how to solve- things that seem impossible to us. Ask children if they've ever felt like that in their lives. Talk about times when you've faced a problem like this yourself and how trusting in God has helped you. What amazing ways has God shown you that he cares and is helping you? Tell the children that the Bible says that all things are possible to God (Matthew 19:26, Mark 10:27) and that, knowing this, can give us hope that if we trust in Him he will do amazing things.

Monday 22 July 2013

Easy envelope prayer journals

At our last formal Sunday session before the holidays we made some prayer journals that we could use over the summer.  They are very easy to make and our 6-11s got so into making them that it was really hard to tear them away at the end of the session.  We had to load them up with things to take home so they could finish them off!

First take 3 envelopes.  Glue the flaps of two of the envelopes and cut the flap off the third.

Stick the envelopes together in a line like this...
This now makes a fold up journal with pockets to put things in (the children especially love this part!)

I made a version of my own to give the children some ideas:
Inside the journal with pockets named for the world, me, other people...

Inside the journal with things pulled out of the pockets and the folded world map opened up.

Inside I put: a folded world map for world prayers, a mini healing board to stick plasters to when praying for people to get better, a little sheet to pray for others on, a little sheet to write prayers for myself, some information about countries I could pray for where it is hard to be a Christian, a string of people holding hands to help me remember people to pray for.

Outside of the journal with a space for thank you prayers and praise of God.

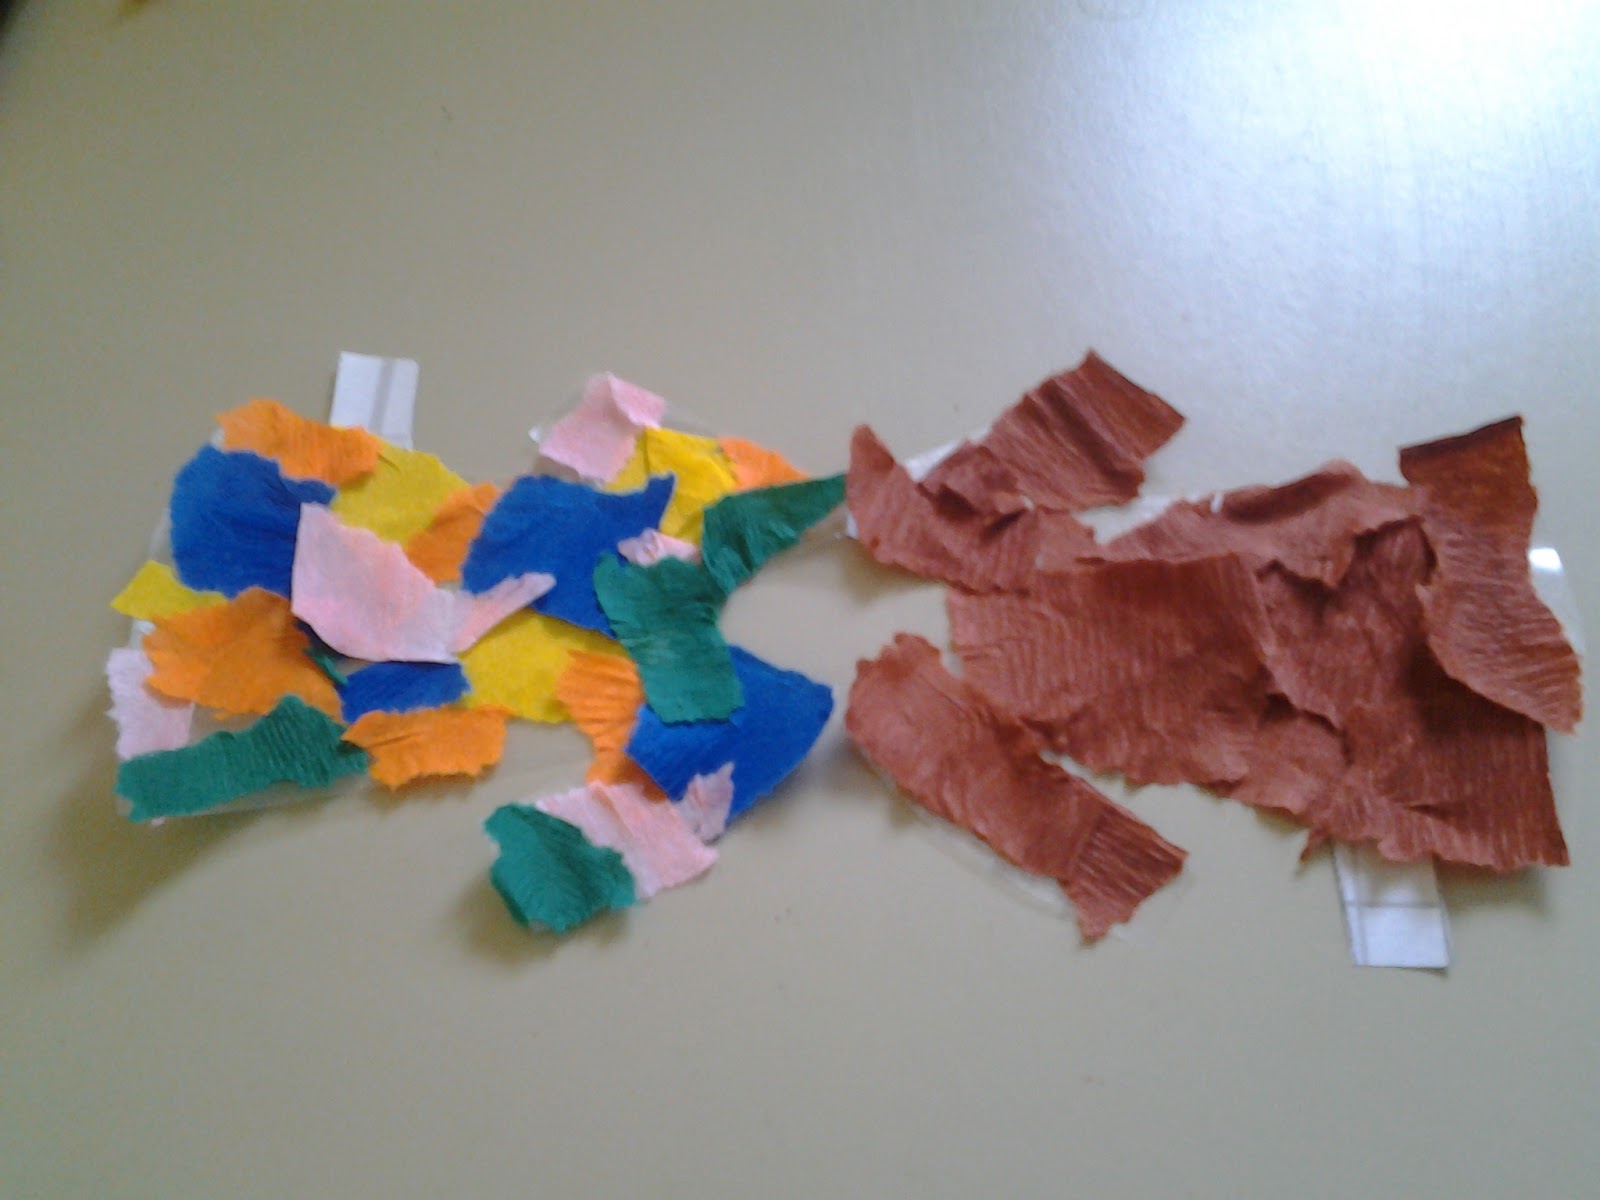
Here's what the children came up with!  We gave them a selection of envelopes, maps, country information, paper shapes and paper and let them do whatever they wanted to with them.


Thursday 18 July 2013

Joseph story bag

I'm very excited about our Joseph story bag!

We're going to be looking at the story of Joseph over the Sundays of the summer holiday and we've been planning contents of the bag to go with each part of the story. We used things that we already had in the craft and toy boxes and made a trip to the pound shop so nothing would break the bank. Hopefully, using the bag will help the children to remember the story and to have fun at the same time!  As usual, when we have finished using it, the bag will be available for parents to borrow and use at home.

 Contents:

  • Story books (I got a couple of used books very cheaply on Amazon but we found that the Lion Storyteller Bible has a great retelling as well)
  • 13 craft stick people (12 named brothers and 1 Jacob- with grey hair to identify!)
  • Joseph's coat fuzzy felt
  • dustpan and brush (for when Joseph worked in Potiphar's house)
  • toy grapes/ bread (baker's and butler's dreams in prison) 
  • 2 toy cows (Pharaoh's dream)
  • 3 bags made from felt and ribbon (food bags Joseph hands out to people)
  • Egyptian headdress made from yellow felt glues onto blue felt with ribbon ties (see below)


Wednesday 17 July 2013

Joseph's coat in a box!

We're putting together a Joseph story bag for the summer and it's been interesting planning what to put inside!

Of course, the most obvious part of the Joseph story is the bit about his fantastic coat.  Genesis 37:3 states that the coat is 'a long robe with full sleeves', (or a 'decorated robe' in some translations), so we are justified in making it colourful- it does, after all, have to be something his brothers would envy!

I wanted to make a fuzzy felt coat that the children could decorate and change as often as they wanted to so I was looking around for a stiff piece of board for my felt backing.  I didn't happen to have any board, but I did have some of those cheap takeaway plastic boxes with lids and that seemed as good as anything else!

I cut out a piece of felt to be my backing and stuck it to the bottom of the box lid (so it would end up inside the box when the box was closed).  I then cut out a felt coat shape and stuck that on top of the backing and cut up some felt scraps and put them inside the box ready for decorating!
It's great, because everything can be put back into the box and kept together all in one place.  You'll never lose the board because it's in the lid!

Tuesday 16 July 2013

Scrap store crafts: Bible water stories

A few weeks ago, KylĂ© and I were invited to put on a Messy Church display table at the local Play Forum AGM (check out Nottingham Play Works here.  The idea was that we would visit the scrap store and use what we found to create crafts that we would use in a normal Messy Church session.  This was very exciting as we had no idea what there would be when we got there!

We love the scrap store because, after paying our yearly membership fee of £5, it then costs us £1 for a basket of stuff and £5 for a trolley- amazing bargain!!  This time we went for a basket full.  This is what we ended up with: bottles, netting, bubble wrap, fabric, ribbon, vinyl sheets, card, cardboard cones, socks, stoppers, lids and various other odds and ends (see below!)

After looking through what we had brought home, a water theme seemed to emerge.  We thought about stories such as Noah's Ark, Jonah, The calming of the storm, Jesus walking on the water and anything involving fishermen!  The scraps above were transformed into the display below!

 Sheets of vinyl as three in a row boards and different coloured vinyl fish to play with.
 Netting (were bottle tops pushed out of this?) with vinyl ribbon ties to make a rainbow mat.
 cardboard cone, sock, plastic strips and plastic rings to make a storm noise maker.
 Fish made from socks, elastic bands, cotton wool and sticker eyes.
 Sea bookmarks made from weaving ribbon through netting.
 Storm bottle (water and glitter to shake in the bottle, vinyl boat shapes, card waves)
 Plastic strip and lolly stick water streamers.
 Stamps made from bottle stoppers carved with a craft knife.

 Rainbow Thank You prayers
 Jonah in the fish (card on a peg)
Bubble wrap worry prayers

Not bad for a £1 bag of scraps and a few extras from the craft cupboard!

Monday 15 July 2013

Light of the world lantern craft

Lanterns and lamps appear in many Bible stories and they're so easy to make, but I've always been disappointed that it's difficult to put a light in a lantern without risking the whole thing going up in flames!  It seems such a shame to make a craft about light and then not to give the children a light to put in it!  Here 's a solution I've come up with.  Depending on the age of the children, you  might want to assemble some parts beforehand.

 You will need: a clear plastic cup, a battery operated tealight, an A5 sheet of coloured paper, 2 small strips of the same colour paper, a pipe cleaner (preferably the same colour as the paper, Stickers or other decorations, a stapler and some scissors.
Fold the paper in half lengthways.  Cut a series of slits through the fold, but make sure you leave a space between the end of the slit and the edge of the paper,
 Cut off the top part of the plastic cup and discard it.  Put small holes in the sides of the remaining plastic cup and secure a pipe cleaner to it as a handle
 Open up the paper and glue the two edges together so that the lantern looks like the one above, with the original fold line running across the middle.
Lower the plastic cup and tealight through the top of the lantern.  Secure the handle by stapling the small strips over the top of the pipe cleaner at either side of the lantern.  The pipe cleaner should be able to move freely through the strips so you can adjust the height of the light.
You will be able to pull up the lantern so you can reach the tea light to switch it on and off.  Simply pull the lantern back over the top when you have finished.  Now decorate your lantern!
The lantern will hang easily and the light will shine!

This is a great craft to use for teaching about Jesus being the light of the world and him wanting us to be like light to others.  Because the light is safe, children can use it at home to remind them that Jesus is with them and as a reminder that they can bring light to others.